Absolute Basic Image Editing: The Five Basic Photofinishing Steps
I recently explained to someone that every image that comes out of any kind of digital camera needs to be post processed on a computer before it becomes half-way to being a ‘finished’ image. Over the years I have had to explain this to lots of people and it often comes as a huge surprise to them that the JPG image you get out of your $1,000+ camera is just the starting point if you are after anything approaching a good result.
At the time, the person to whom I was explaining this suggested I should post these five “must do” steps to my site. I pointed out to them I have done a number of postings on this subject and I brought up my site and showed them the various postings. But then they pointed out to me something that should have been very obvious—while I have covered these steps in various disconnected postings I do not bring it all together or set out these five vital steps in sequence.
So here it is. The five things that have to be done to EVERY digital still image ever taken in order to get the image up to a point where it looks good enough to be presented on screen or in print.
HUGE NOTE: These five steps are not everything you can or might need to do in post processing a digital picture. There is much more than can be done. Much much more. But these five steps are the absolute minimum that you need to do if you want to get your picture anywhere near to being presentable.
Other Note: The following assumes we are working with a low-compression JPG. That is, a JPG from the camera taken at the highest quality the camera allows for JPGs.
Here we go—with each step I will show you the before and after pictures at the start.
Abalook’s Basic Post-processing Step Number 1: Setting the Histogram
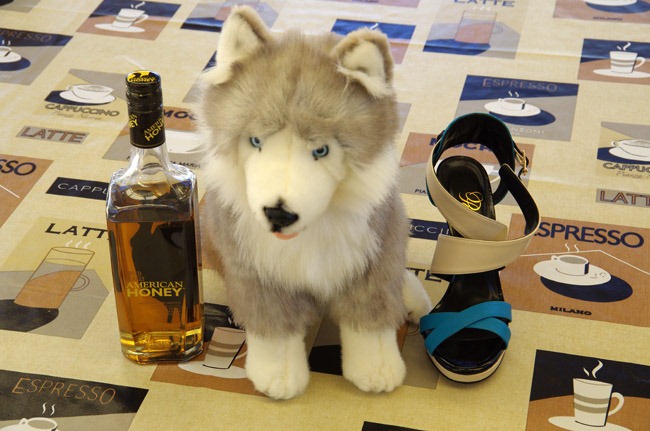
So, with this step the only change that has been made is that the histogram has been ‘levelled’. This means bringing up the histogram for the picture using your favourite raster image editor set the black and white levels. I am using Adobe Photoshop Elements, which I highly recommend.
For more on setting the histogram levels you can refer to this Abalook posting.
Abalook’s Basic Post-processing Step Number 2: Balancing for White
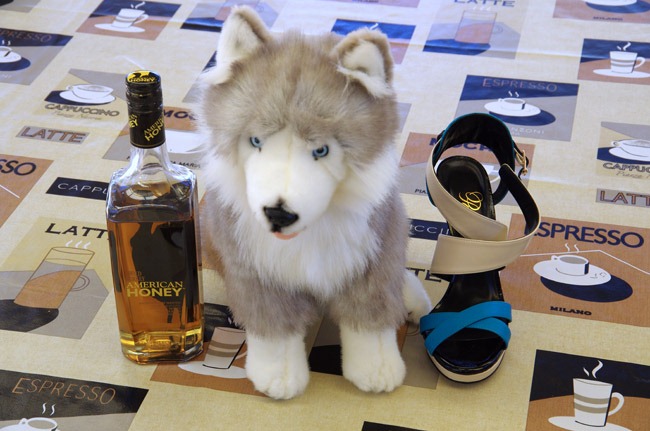
In this step you set the white balance of the picture. This calms down any colour casts. As you can see from the above change it has removed most of the yellow-orange colour cast that this picture had because I know that the white on the fluffy-toy dog is pure white.
Various raster editors have different ways of setting the white balance. In Adobe Photoshop Elements it can be done, oddly enough, using the “Remove Color Cast” tool from the “Adjust Color” options.
Abalook’s Basic Post-processing Step Number 3: Cropping
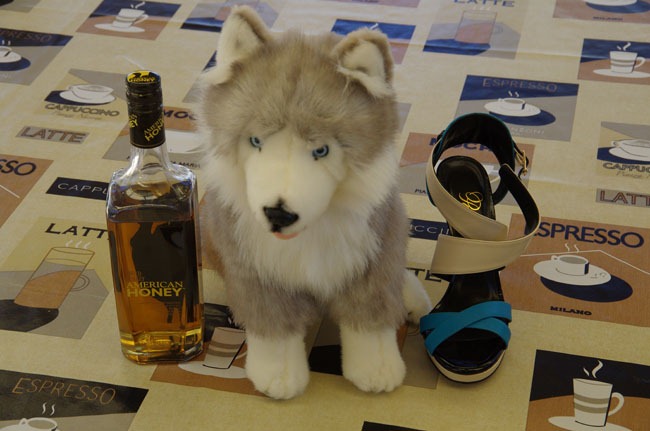
Because I automatically framed this picture pretty much how I wanted it, which comes from years and years of taking pictures, there is not much difference to see in the cropping. I have cropped it down a little bit and have purposely clipped the ear of the doggy a bit.
Abalook’s Basic Post-processing Step Number 4: Resize and Resampling
There is not much to see happening here but this step is seriously (note the use of bolding) important. For the best result you MUST resize and resample your picture to the required size before the next step. If you don’t you will not get the desired outcome.
You cannot sharpen an image at one size, and then resize/resample it to another size. Doing this will completely destroy the integrity of the sharpening.
Also if you post or print an image of the wrong size then it will loose clarity and sharpness when it is displayed or printed.
So in this case I will resize/resample my image to a width of 650 pixels, which is my maximum display width for posting on my site. The dpi is 72 dpi.
If you were resampling for print you would resample to the exact required print size and probably to 300 dpi (assuming your image has the pixel density to make it to 300 dpi without pixel interpolation occurring—and resizing for print is way too big a subject to cover in this quick posting).
Abalook’s Basic Post-processing Step Number 5: Sharpening
Sharpening, or unsharpening—to give it its correct name—adds that final snap, crackle, and pop to your picture.
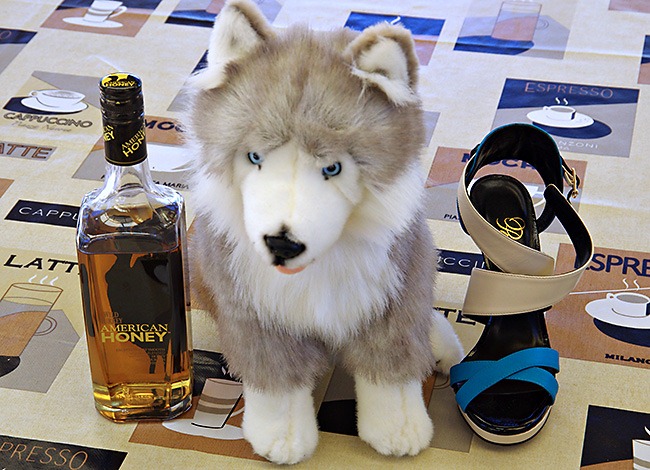
Not too sure what happened in comparing the two pictures above? Compare the part of the word ‘ESPRESSO’ in the bottom left hand corner, or the American Honey wording on the bottle of bourbon, or the shine and twinkle of the glass at the neck of the bottle, or the fur around the neck of the dog, or the fastening clasp on the shoe which now has a sparkle to it after the unsharpening, or the blue eyes of the dog, or the gold letter “P” from the PeepToe branding on the inside of the shoe.
Also, viewed overall, the picture has got more ‘presence’ or depth.
What is sharpening (errr, unsharpening)? Well there are probably about a hundred different way to sharpen a raster image and every picture needs to be sharpened after it has been resized/resampled. Sharpening techniques include de-fog sharpening (for landscapes), edge-detect sharpening (for close-up pictures), luminosity sharpening (for people pictures and portraits), high-pass filter sharpening (for high-contrast sharpening), channel sharpening, layered sharpening, spot sharpening, and then combinations of these.
The sharpening above was done very simply using the Adobe Photoshop Elements v9 “Unsharp” mask with a Threshold setting of 3, Pixel Radius of 1.5, and Amount of 50 percent.
Beginning-to-End Comparison
So the two pictures above are:
- the picture as produced by the camera, which is a Pentax K-5 and the JPG is set to the highest quality level, and
- the same picture after applying Abalook’s five basic photofinishing steps.
Seriously, if you want to post better looking images or produce prints with magazine-quality punch to them then you should work out how to work through these five basic photofinishing steps.
Probably the single most important step, although it does not seem that important initially, is the resizing/resampling step. If you don’t do this correctly then the sharpening will not work out like it should.


